Local Network Streaming
Local Network Streaming using LiveLAN
LiveLAN is a built in streaming destination in vMix that can stream locally across the network. This can be viewed by any supported web browser on the same local network as vMix. This includes laptops, PCs, smart phones and smart TVs that support HTML5 live streaming.
There is no fixed limit to the number of viewers, but both the performance of the PC and the available network speeds (see below) will factor in to the maximum possible.
LiveLAN is intended for use on the local network only. To calculate the amount of bandwidth needed, multiply the number of viewers by the bitrate specified in the Streaming Quality, adding in approximately 10 to 20% extra to account for potential overheads.
For example, if the Streaming Quality bit rate setting is set to 2.5mbps and there will be 50 viewers on the stream, this will require approximately 2.5mbps * 50 = 125mbps + 20% = 150mbps.
A delay from vMix to browser of around 10 seconds is typical with LiveLAN and it is not possible to reduce this.
Step 1
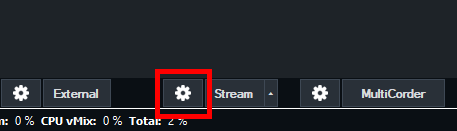
In vMix open the Stream Settings by clicking the cog icon button next to the Stream button down the bottom of vMix.
Step 2
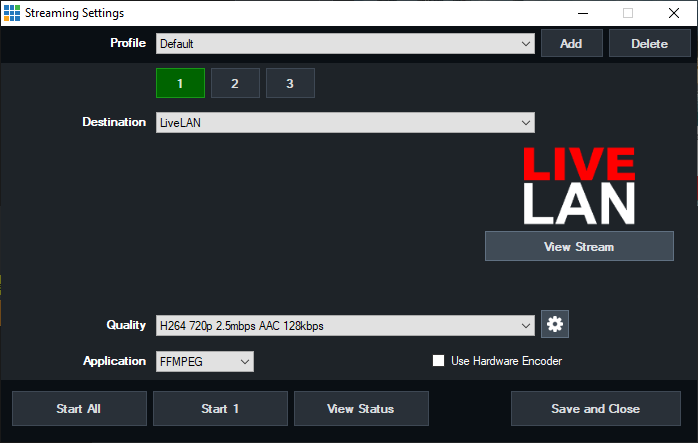
From the Destination dropdown menu, select the LiveLAN option.
Step 3
Configure your preferred Streaming Quality settings such as resolution and bit rate. Please refer to Network Considerations above when calculating your preferred bit rate setting.
Step 4
When ready to stream, click the Start button.
Step 5
The stream can now be accessed from any supported web browser on the same local network as vMix. To view, you will need to type in the LiveLAN stream URL into the Address Bar of the browser. In the vMix stream settings window, click the View Stream button. This will then show you in your address bar the URL you will need. Type this into the address bar in the browser running on any other device on the local network wishing to watch this stream. An example of this:
Local Network Streaming using NDI or OMT
NDI® and OMT are technologies that makes it easy to send and receive multiple channels of broadcast quality, low latency video over an existing Gigabit Ethernet Network. These are the recommended methods to use for local network streaming.
Step 1
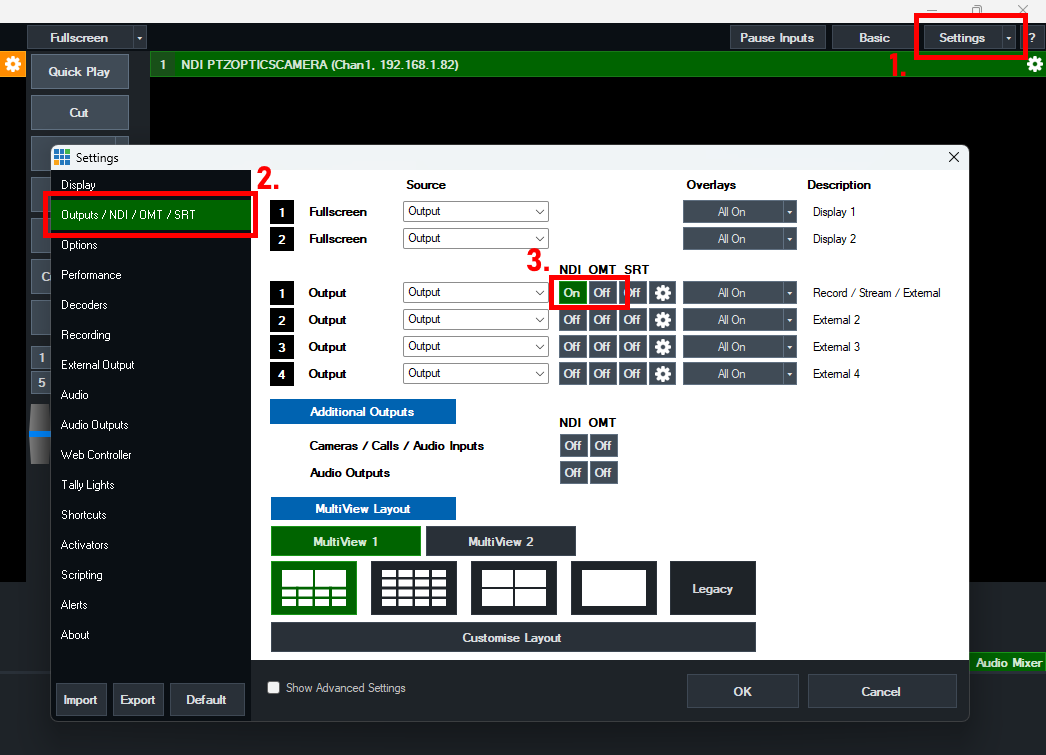
In vMix, select the Settings button at the top right corner. Then choose the Outputs / NDI / OMT / SRT tab. Select one or more buttons positioned to the right of an Output so it is green and says On. This will make the Output available as a source over the network via the protocol selected. Click OK to save and start the Output.
Step 2 - Using vMix to Receive the vMix Output
Step 2 Alternative - Using NDI Studio Monitor to Receive the vMix Output (NDI Only)
For each computer on the local network that will be watching the vMix NDI output, download and install the free NDI Tools pack available at the following link:
This tool pack contains the NDI Studio Monitor program that will allow you to watch the vMix output being sent over NDI.
Make sure any computers that want to watch the vMix NDI output are on the same local network as the vMix computer. Open the NDI Studio Monitor program that was installed in Step 2.
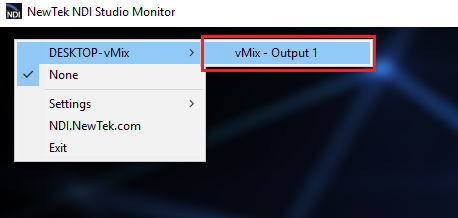
Once opened, hover your cursor over the top left until you see the hamburger (3 lines) menu.

A menu will then appear. This menu should show the computer name of the vMix computer. Under that it should then allow you to select vMix - Output 1.
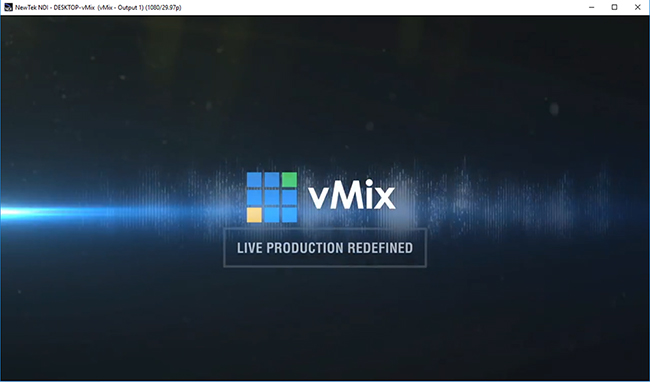
It should then start playing the video and audio output coming out of vMix.
Last Updated: Monday, October 27, 2025 1:32:05 PM